
Thin walls raise demands on flow, pressure, cooling, gate, venting and tolerances. How to validate thin-wall before production tooling.
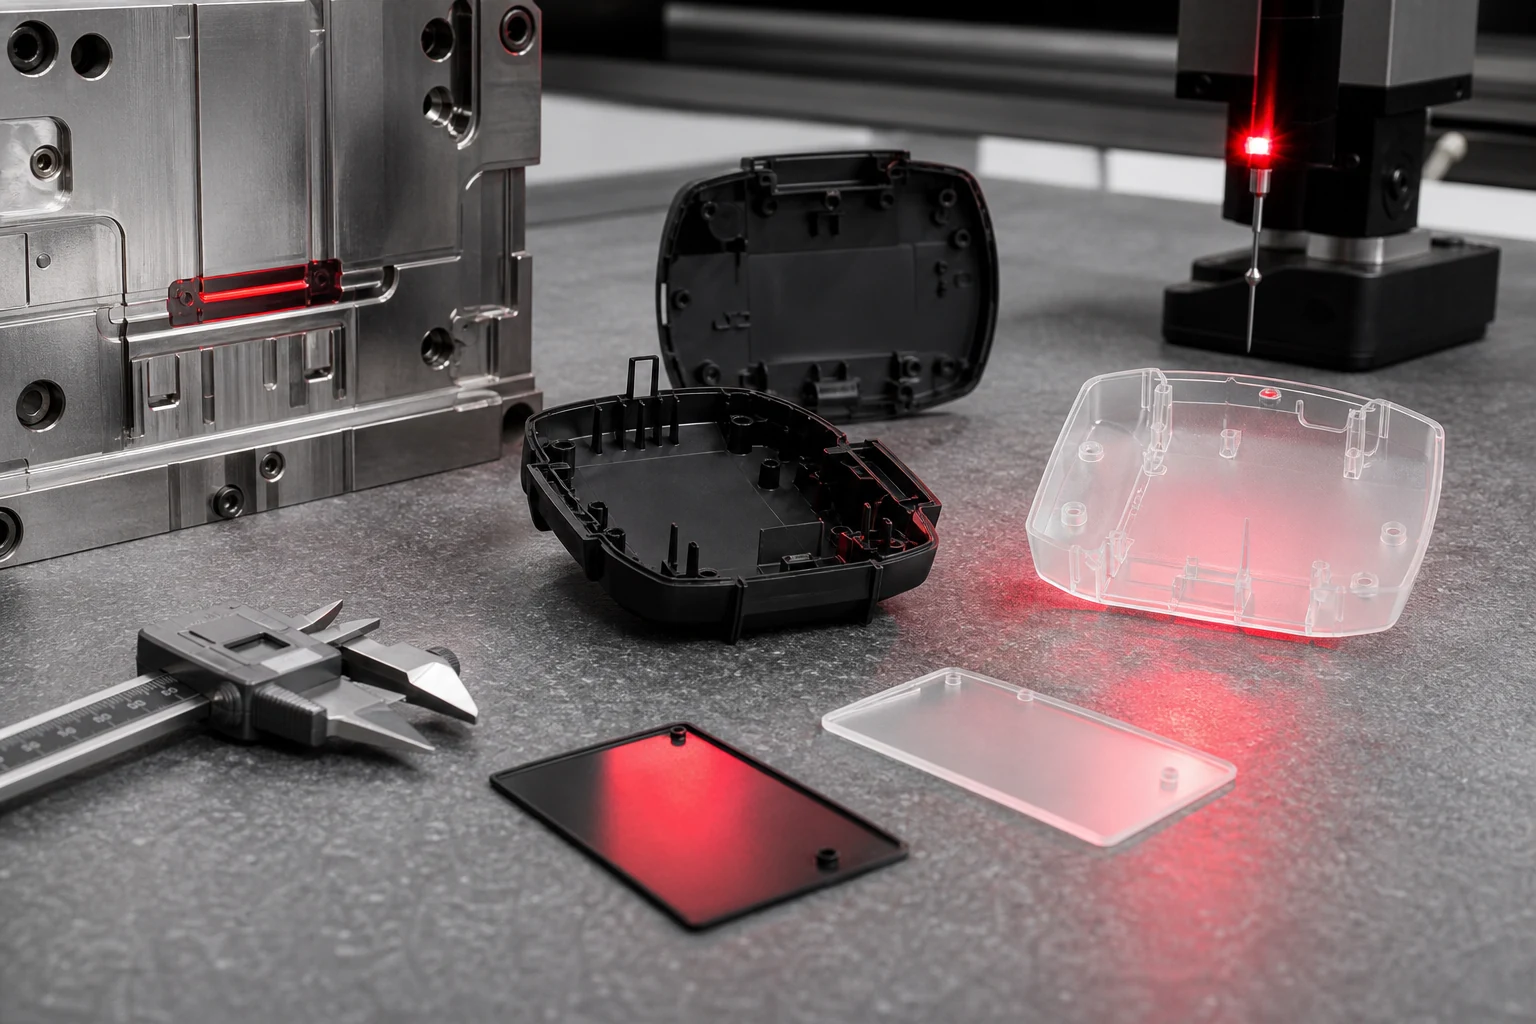
Key idea: a thin-wall part does not fail only because there is not enough material. It fails because filling, packing, cooling and venting are compressed into a much narrower process window.
Less wall, less process margin
In a conventional part, the material keeps its ability to flow and transmit pressure for longer. In a thin wall, that window closes quickly: the flow front loses temperature, effective viscosity rises and small changes in thickness, surface texture, flow length or mould temperature can trigger a short shot.
This is why the design should not be assessed only by the nominal wall thickness on the drawing. The real question is the relationship between thickness, flow path, radii, section changes, ribs, shut-offs, visible areas and points where the flow must split and meet again. A thin wall can be viable in a compact geometry and critical in another apparently similar part if pressure loss or flow length changes.
Flow, pressure and speed operate close to the limit
Thin-wall moulding usually requires higher injection speed to fill before the cavity freezes. That increases shear, sensitivity to flow marks and dependence on stable machine control. If every issue is compensated with pressure, other risks appear: flash on fine shut-offs, excessive tool load, internal stress and parts that look acceptable at ejection but deform later.
An injection-moulded prototype shows whether the process has real margin. Producing one complete part under one condition is not enough: the process should also tolerate small variations in mould temperature, material moisture, speed, packing pressure or cooling time. That margin is what separates a valid sample from an industrialisable solution.
Gate position matters more
Gate position, number and type define flow path, filling balance and material orientation. In thin-wall parts, a poorly placed gate can create weld lines in structural areas, gloss differences, burns caused by poor air evacuation or zones that need excessive pressure to complete.
Gate vestige also matters. In visible, functional or tightly assembled parts, the gate is not only a processing decision: it affects aesthetics, local strength, flatness and dimensional repeatability.
Cooling and deformation
A thin wall cools quickly, but not always evenly. Local mass differences, ribs, bosses, thickness changes or areas close to inserts can generate different shrinkage behaviour. The result may be a part that measures correctly when it leaves the mould and then moves during stabilisation, handling or assembly.
Validation should therefore include measurements after a defined waiting time, not only immediately after ejection. In parts with fits, clips, guides, housings or visible surfaces, that difference can decide whether the design needs radii, smoother transitions, thickness adjustments or a different cooling strategy.
Venting, shut-offs and surface appearance
When the flow front moves quickly through a narrow section, the air in the cavity has less time to escape. If venting is not sufficient, the part can show burns, uneven gloss, matt zones, flow lines or incomplete filling at the end of the path. A prototype mould should reproduce critical shut-off and venting areas with enough realism to avoid underestimating this problem.
Surface appearance must also be checked with the final material. Mineral fillers, glass fibre, pigments, flame retardants or recycled grades can change viscosity, orientation, gloss and dimensional stability. A trial with an equivalent but not final material can hide defects that will appear in production.
What the prototype must measure
The prototype is not there to prove that one part can be filled once. It should turn design doubts into process data: maximum pressure, filling stability, flash tendency, dimensional repeatability, deformation, part weight, appearance, parameter sensitivity and behaviour after conditioning.
- Filling: confirm that areas far from the gate complete without relying on an extreme setting.
- Packing: check whether pressure reaches critical areas before the section freezes.
- Dimensions: measure functional features across several parts and at different times after moulding.
- Appearance: review flow lines, gloss, burns, gate marks and visible surfaces.
- Robustness: vary parameters within a reasonable range to know whether a process window exists.
When to redesign before production tooling
If the prototype only works with very high pressure, extreme speed or an overly tight cooling condition, the design is not mature yet. The practical move is to act before production tooling: move or duplicate the gate, smooth transitions, redistribute thickness, add radii, review ribs or change to a material grade with better flow.
The value of validating with P2P is that these decisions arrive while they are still manageable. Correcting a thin wall at prototype stage is cheaper than discovering in production that the part does not fill, warps, marks or requires a process window that cannot be sustained.
Frequently asked questions about thin-wall
What counts as a thin wall in injection moulding?
It depends on material and geometry, but when thickness critically reduces filling and packing time, the process should be treated as thin-wall.
Why does gate position matter more in thin-wall parts?
The material has less time to travel before cooling. Gate position affects pressure, weld lines and short shots.
Which defects should the prototype look for?
Incomplete filling, flash, flow marks, warpage, excessive pressure, appearance and dimensional repeatability.